
Blog
How to Set Up a Ground Blind for Deer Hunting | Complete Guide


How to Set Up a Ground Blind for Deer Hunting | Complete Guide
Setting up a ground blind is more than simply unfolding it, placing it on the ground, and climbing inside. A properly planned ground blind setup considers the blind’s location, concealment, wind direction, deer movement, shooting lanes, window positions, access route, stability, and hunting method.
Whether you’re preparing a portable ground blind for the first time or installing a more permanent ground deer blind, the setup can significantly affect how naturally the blind fits into the hunting environment.
In this complete guide, you’ll learn how to set up a ground blind for deer hunting step by step, how to choose the right location, how to orient windows, how to conceal the blind, how to prepare shooting lanes, how to reduce noise and movement, how to set up for bowhunting or gun hunting, and how to inspect the blind before your first hunt.
The goal isn’t simply to put a blind in the woods. The goal is to create a deer hunting ground blind setup that works with the property, deer movement, wind, terrain, and your hunting style. Explore our in depth guide on hunting ground blind for more insights.
What Is a Ground Blind Setup?
A ground blind setup is the complete process of preparing a ground-level hunting blind for use.
It includes much more than assembling the physical structure.
A complete setup involves:
- Choosing the location
- Studying deer movement
- Checking wind direction
- Considering thermals
- Planning access
- Preparing the ground
- Positioning the blind
- Orienting the windows
- Securing the blind
- Adding appropriate concealment
- Preparing shooting lanes
- Organizing equipment
- Testing shooting positions
- Checking safety
The exact process depends on the type of blind.
A portable fabric blind may take only a short time to physically assemble, while a more substantial enclosed or semi-permanent blind may require considerably more preparation.
Regardless of the blind type, the same principle applies:
The blind should be adapted to the hunting environment, not the other way around.
Why Proper Ground Blind Setup Matters
A high-quality blind can still perform poorly if it is installed carelessly.
Poor setup can create problems such as:
- An exposed blind that deer notice
- Unfavorable wind
- Poor shooting angles
- Limited visibility
- Noisy windows
- Uncomfortable shooting positions
- Difficult access
- Excessive human scent
- Unstable footing
- Water drainage problems
- Unsafe shooting directions
A good setup combines several factors.
Deer movement
Know where deer are coming from and where they are going.
Wind
Understand where your scent is likely to travel.
Concealment
Make the blind fit naturally into its surroundings.
Shooting lanes
Give yourself useful and safe visibility.
Access
Reach the blind without unnecessarily disturbing deer.
Comfort
Make sure you can sit, stand, draw a bow, operate windows, and manage equipment comfortably.
What You Need Before Setting Up a Ground Blind
Your equipment will depend on the type of blind, but a basic setup may include:
- Ground blind
- Stakes or anchoring system
- Mallet or hammer
- Seat or hunting chair
- Shooting equipment
- Rangefinder
- Pruning tools where legally and practically appropriate
- Natural concealment materials
- Ground cover or mat
- Weatherproof storage containers
- Water-resistant gear bags
- Flashlight or headlamp
- Basic maintenance tools
For permanent or semi-permanent setups, additional equipment may be required according to the manufacturer’s installation instructions.
Always follow the manufacturer’s instructions for assembly, anchoring and use.
Choose the Right Location First
Before setting up the blind, make sure you have selected a location based on the property’s actual deer movement.
This is one of the most important steps.
A good location may be near:
- Deer travel corridors
- Food plots
- Agricultural fields
- Bedding-to-feeding routes
- Timber edges
- Water
- Funnels
- Creek crossings
- Natural openings
- Terrain transitions
However, you should not simply choose the place with the most deer sign.
The location also needs to work with:
- Wind
- Concealment
- Access
- Shooting lanes
- Terrain
- Safety
- Hunting method
For detailed location guidance, read Best Ground Blind Placement for Deer Hunting article.
Check Deer Movement Before Setup
Before placing the blind, look for evidence of deer movement.
Useful signs include:
- Tracks
- Trails
- Rubs
- Scrapes
- Droppings
- Browse
- Bedding areas
- Feeding areas
- Trail-camera observations
Trail cameras can provide additional information about when and where deer are moving.
Look for patterns rather than isolated observations.
For example, one track might tell you a deer passed through an area.
A heavily used trail with repeated camera activity provides much stronger evidence that the location is part of a regular movement pattern.
Consider Wind and Thermals
Wind should be part of your setup decision from the beginning.
Before positioning the blind, determine where your scent is likely to travel.
Ideally, you want your scent to move away from areas where deer are likely to approach or travel.
However, local wind can be affected by:
- Hills
- Valleys
- Timber
- Buildings
- Temperature
- Time of day
- Terrain
Thermals
Temperature changes can also influence air movement.
Cooler air can move downhill while warmer air can rise, although local conditions vary.
This is particularly important on properties with:
- Hills
- Slopes
- Ridges
- Hollows
- Creek bottoms
Don’t rely exclusively on a general weather forecast. Observe the actual property whenever possible.
Plan Your Entry and Exit Route
A blind location can look perfect on a map but become problematic if you must walk directly through deer activity to reach it.
Before finalizing the setup, plan:
Parking → Entry Route → Blind → Exit Route
Consider where deer are likely to be when you enter and leave.
Try to avoid repeatedly crossing:
- Bedding areas
- Major deer trails
- Food plots
- Feeding areas
- Known staging areas
Look for lower-impact routes using:
- Existing roads
- Field edges
- Ditches
- Thick cover
- Terrain features
- Property boundaries where appropriate
Your access route should be considered part of the blind setup, not an afterthought.
Prepare the Ground Before Installing the Blind
Inspect the exact location before placing the blind.
Look for:
- Standing water
- Mud
- Uneven ground
- Roots
- Rocks
- Fallen branches
- Drainage issues
- Loose soil
- Unstable slopes
A relatively level and well-drained location can make the blind more comfortable and stable.
Avoid Low Spots Where Water Collects
Water can create problems with:
- Flooring
- Moisture
- Mold
- Mud
- Equipment
- Blind materials
If the location repeatedly holds water, consider whether another nearby position would provide similar hunting opportunities without the drainage problem.
Position and Orient the Ground Blind
Once the location is selected, determine exactly how the blind should face.
Don’t automatically point the largest window toward the food source.
Consider the complete picture:
- Deer approach direction
- Wind
- Concealment
- Shooting lanes
- Sunlight
- Access
- Terrain
- Safe shooting directions
Orient Windows Toward Useful Shooting Areas
Before securing the blind, sit inside it.
Look through every shooting window.
Ask:
- Can I see the primary deer trail?
- Can I see the food plot?
- Can I see the field edge?
- Can I comfortably shoot from this position?
- Is the window at the correct height?
- Is the shooting angle practical?
- Is the sun directly in my eyes?
Making these adjustments before securing the blind is much easier than changing the setup later.
Set Up a Portable Ground Blind
Portable blinds are generally designed to be moved and repositioned, but they still require careful setup.
Step 1: Unpack and Inspect
Check:
- Fabric
- Frame
- Windows
- Doors
- Zippers
- Straps
- Stakes
- Anchoring points
Look for damage before putting the blind into service.
Step 2: Position the Blind
Place the blind where you have already evaluated:
- Deer movement
- Wind
- Concealment
- Access
- Shooting lanes
Step 3: Expand the Blind
Follow the manufacturer’s instructions for opening or assembling the blind.
Do not force frame components or mechanisms.
Step 4: Orient the Windows
Position the windows around your intended shooting directions.
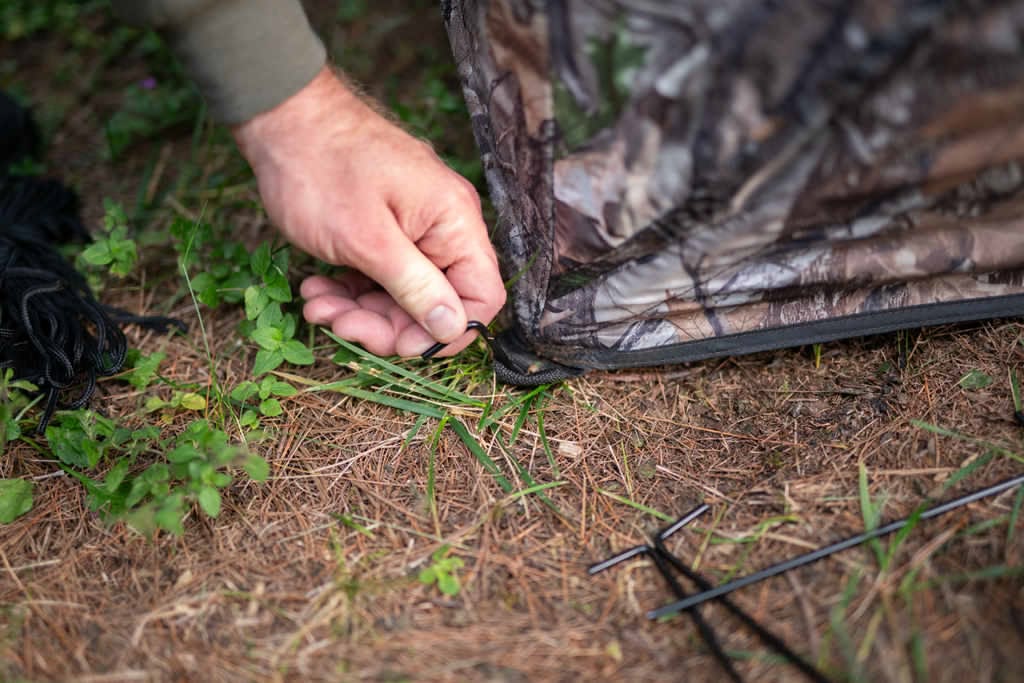
Step 5: Anchor the Blind
Use the manufacturer’s recommended anchoring system.
This becomes especially important when:
- Wind is strong
- The ground is soft
- The blind is lightweight
- The blind will remain in place for an extended period
Step 6: Add Concealment
Use appropriate natural surroundings to reduce the blind’s visual profile without blocking windows or compromising safety.
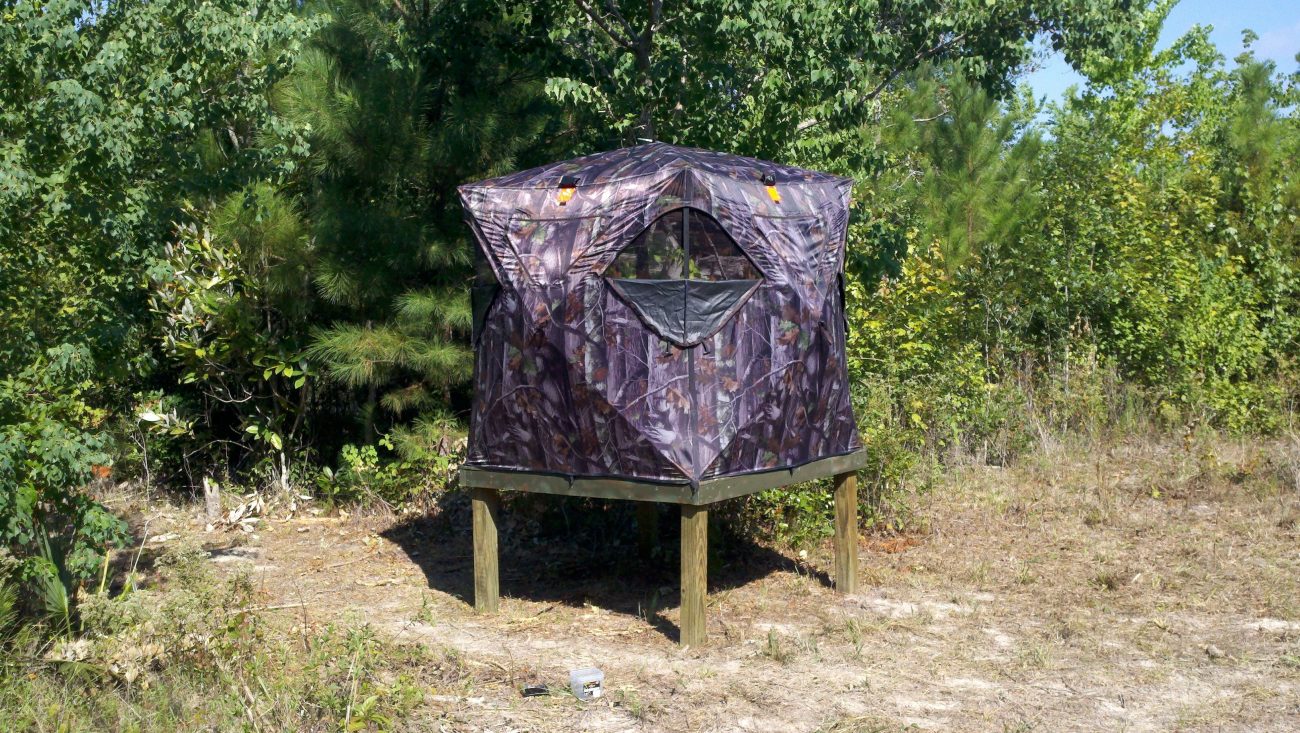
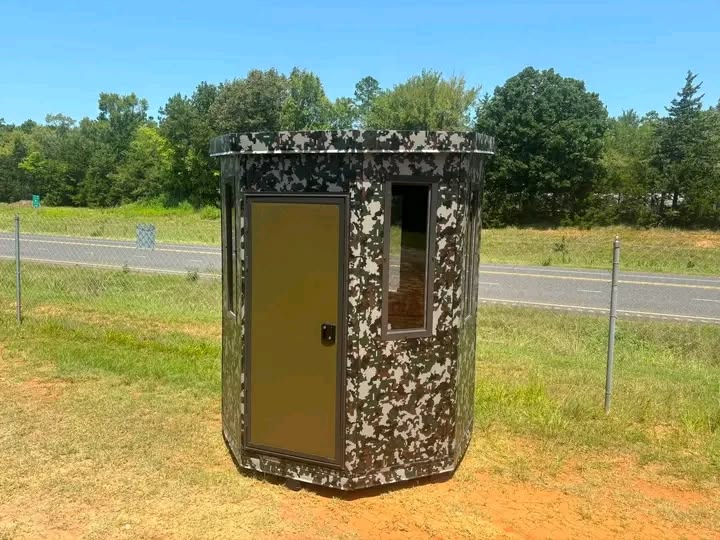
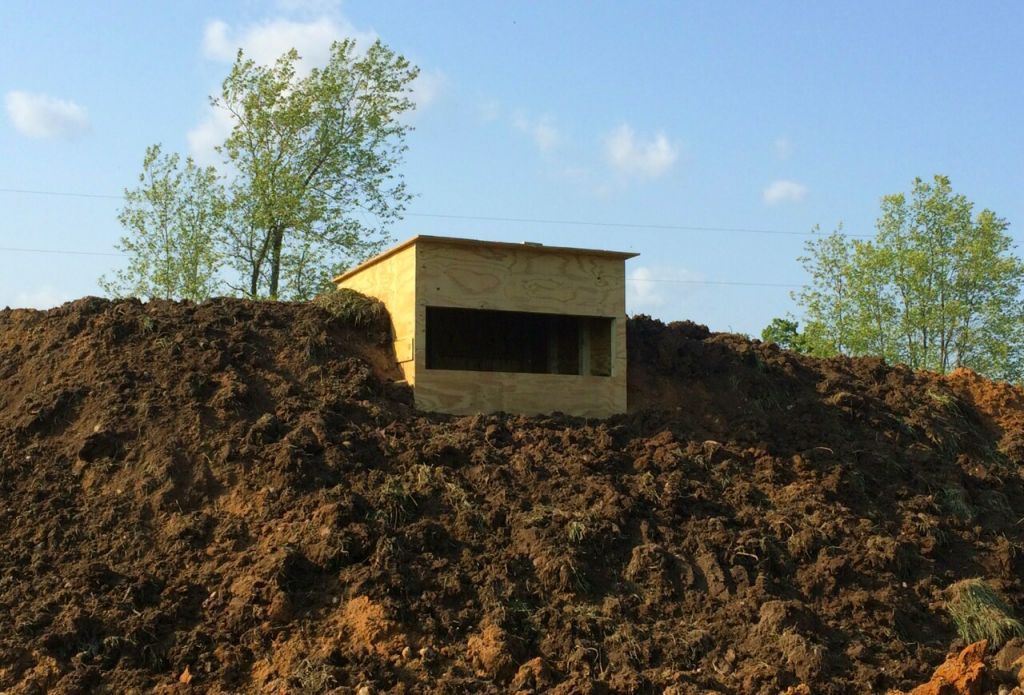
Set Up a Permanent or Semi-Permanent Ground Blind
A more substantial ground deer blind may require additional preparation.
Depending on the product, you may need to consider:
- Base stability
- Drainage
- Flooring
- Leveling
- Anchoring
- Door clearance
- Window operation
- Long-term weather exposure
- Maintenance access
Follow the manufacturer’s installation requirements.
For substantial structures, don’t improvise structural modifications that could compromise stability or safety.
Secure the Ground Blind Properly
A blind that moves, shifts or becomes damaged in bad weather can ruin an otherwise good hunting setup.
Anchoring methods vary by blind design and manufacturer.
Follow the supplied instructions and consider local conditions such as:
- Wind
- Soil type
- Rain
- Snow
- Frozen ground
- Uneven terrain
Check the blind after severe weather.
For a semi-permanent setup, periodically inspect anchoring points and structural components.
Conceal the Ground Blind
One of the most important parts of a deer hunting ground blind setup is making the blind visually blend with the environment.
The objective isn’t necessarily to make the blind invisible.
Instead, reduce its unnatural appearance.
Use the Existing Environment
Consider:
- Trees
- Brush
- Tall grass
- Shadows
- Fallen timber
- Natural vegetation
- Terrain
Avoid unnecessarily removing vegetation around the blind.
Break Up the Blind’s Outline
A large rectangular shape can be visually obvious in an otherwise natural environment.
Natural vegetation can help break up the outline when used appropriately.
Don’t block:
- Windows
- Doors
- Emergency exits
- Shooting lanes
- Ventilation
Prepare Shooting Lanes
A shooting lane is the area through which you can safely and practically observe and take a legal shot when conditions are appropriate.
Before hunting, identify:
- Primary shooting lane
- Secondary shooting lane
- Deer approach route
- Approximate shooting distances
- Obstacles
- Safe backstop
- Property boundaries
Avoid Over-Clearing
It can be tempting to create a large open area around the blind.
More clearing isn’t necessarily better.
Excessive disturbance may:
- Change the appearance of the area
- Remove natural concealment
- Create unnecessary noise
- Increase visibility of the blind
Create only the practical lanes you need and follow applicable property and hunting regulations.
Set Up and Test the Windows
Windows are a major part of the blind’s functionality.
Before hunting, operate every window.
Check:
- Opening mechanism
- Closing mechanism
- Noise
- Visibility
- Shooting height
- Shooting angle
- Clearance
- Locking or securing mechanism
Test the Blind From Your Actual Hunting Position
Don’t stand outside and assume the window will work.
Sit where you intend to hunt.
Then:
- Look through the window.
- Identify your shooting area.
- Move into your shooting position.
- Check clearance.
- Operate the window.
- Check visibility.
- Practice quietly.
This is particularly important for bowhunting.
Ground Blind Setup for Bowhunting
Bowhunting requires additional preparation because drawing and shooting a bow involves more movement and equipment clearance.
Before hunting, check:
- Bow clearance
- Window height
- Window width
- Drawing position
- Seated position
- Standing position
- Shooting angles
- Arrow clearance
- Equipment placement
Practice the Complete Motion
Inside the blind, practice:
Rest → Reach for bow → Draw → Anchor → Aim → Return
Do this carefully and safely without pointing equipment toward people or unsafe areas.
You should know whether your bow or accessories can contact:
- Window frames
- Walls
- Shooting ports
- Chairs
- Other equipment
For more information, read: How to Shoot a Bow From a Hunting Blind, and Best Bow Hunting Blind Window Setup.
Ground Blind Setup for Gun Hunting
Gun-hunting setups require careful consideration of:
- Shooting lanes
- Safe shooting directions
- Backstops
- Property boundaries
- Window height
- Visibility
- Shooting distance
- Hunting regulations
Never treat an open shooting lane as automatically safe.
Know what lies beyond the intended target area and follow all applicable firearm and hunting laws.
For additional content, read: Best Deer Blinds for Gun Hunting.
Ground Blind Setup for Food Plots
Food plots are common locations for ground blinds, but setup should account for the entire movement pattern.
Before installing the blind, determine:
- Where deer enter
- Where deer leave
- Nearby bedding
- Nearby cover
- Wind direction
- Your access route
- Shooting lanes
- Sun position
Don’t Block the Natural Travel Route
The goal isn’t to place the blind directly in the food plot.
A blind positioned along an approach route or field edge may sometimes provide a better setup while preserving the natural movement pattern.
For detailed guidance, read: Where to Put a Deer Blind on a Food Plot.
Ground Blind Setup in Woods
Wooded properties often provide natural concealment.
Look for:
- Timber edges
- Openings
- Existing trails
- Creek crossings
- Funnels
- Terrain changes
- Natural clearings
Position the blind where the surrounding trees and vegetation help break up its outline.
Avoid creating unnecessary disturbance simply to make room for the blind.
Ground Blind Setup in Open Fields
Open fields require more attention to concealment.
Potential setup locations include:
- Field edges
- Brush lines
- Fence lines
- Tall vegetation
- Corners
- Terrain transitions
- Existing cover
An exposed blind may be easier for deer to detect, especially if there is little else around it.
Look at the blind from the direction you expect deer to approach.
If it is highly visible from that direction, reconsider the setup.
Ground Blind Setup for Multiple Hunters
A larger blind can accommodate multiple hunters, but your setup should account for everyone’s movement.
Before hunting, determine:
- Where each hunter will sit
- Which windows each person will use
- Where bows or firearms will be positioned
- Where equipment will be stored
- How hunters will communicate
- How movement will be minimized
Avoid having hunters repeatedly cross in front of shooting windows or interfere with each other’s equipment.
How to Reduce Noise and Movement
Deer may notice unusual sounds and movement around a blind.
Before opening day, identify potential sources of noise:
- Zippers
- Window mechanisms
- Doors
- Chairs
- Loose equipment
- Bags
- Metal components
- Footsteps
- Packaging
Test Everything Before the Hunt
Operate:
- Windows
- Doors
- Chairs
- Gear
- Storage systems
before hunting.
If something makes excessive noise, determine whether it can be adjusted or maintained according to the manufacturer’s instructions.
Organize Equipment
Keep essential equipment within easy reach.
This reduces unnecessary movement during the hunt.
Scent Considerations During Setup
Human scent is another reason to think carefully about when and how you install a ground blind.
During setup:
- Avoid unnecessary trips through important deer areas.
- Plan your access route.
- Minimize disturbance.
- Avoid repeatedly walking around the blind.
- Consider wind direction.
Scent management is not about eliminating every trace of human odor. Instead, consider how wind, access and repeated disturbance interact with your setup.
For additional information, read: How to Control Scent When Bowhunting From a Blind.
Weather and Seasonal Considerations
Weather can affect both setup and long-term blind performance.
Rain
Check:
- Drainage
- Roof
- Seams
- Windows
- Door areas
- Flooring
Wind
Inspect:
- Anchors
- Stakes
- Structural components
- Doors
- Windows
Snow and Ice
Heavy accumulation can place additional stress on structures.
Follow the manufacturer’s recommendations.
Hot Weather
Consider:
- Ventilation
- Sun exposure
- Interior temperature
- Water-resistant equipment storage
Cold Weather
Insulation can improve comfort during long hunts.
If cold-weather hunting is a major consideration, explore our in depth article on: Are Insulated Deer Blinds Worth It?
Common Ground Blind Setup Mistakes
1. Setting up before studying deer movement
Don’t let the blind dictate where you hunt.
Study the property first.
2. Ignoring wind
A beautiful location can become a poor hunting location if your scent consistently moves toward deer.
3. Forgetting access
If reaching the blind requires walking through a major travel route, reconsider the setup.
4. Making the blind too visible
Use the environment to reduce the blind’s visual impact.
5. Creating oversized shooting lanes
Only clear what is necessary and safe.
6. Not testing the windows
You don’t want to discover during a hunt that your preferred shooting position doesn’t work.
7. Not practicing from inside the blind
This is especially important for bowhunters.
8. Ignoring drainage
A low, wet location can create long-term problems.
9. Not anchoring the blind
Weather can shift or damage an unsecured blind.
10. Carrying too much gear inside
Clutter creates noise and limits movement.
11. Constantly changing the setup
Frequent disturbance can be counterproductive.
Make changes based on evidence rather than impatience.
How Long Before Hunting Should You Set Up a Ground Blind?
There is no universal number of days that guarantees deer will accept a ground blind.
The appropriate timing depends on:
- Blind type
- Property
- Deer pressure
- Concealment
- Hunting season
- Access
- Local deer behavior
- Amount of disturbance
A portable blind may be positioned shortly before a hunt in some situations, while a semi-permanent setup may be installed earlier.
The more important principle is to minimize unnecessary disturbance.
If you install the blind early, avoid repeatedly visiting it just to make minor adjustments.
Step-by-Step Ground Blind Setup Checklist
Use this process before your first hunt.
Step 1: Scout
Identify deer movement, bedding, food and travel routes.
Step 2: Select the location
Balance deer activity with wind, concealment, access and safety.
Step 3: Plan access
Determine how you’ll enter and leave without unnecessary disturbance.
Step 4: Inspect the ground
Check stability, drainage, roots, rocks and uneven terrain.
Step 5: Position the blind
Orient the blind according to deer movement, wind and shooting opportunities.
Step 6: Secure the blind
Use the manufacturer’s recommended anchoring method.
Step 7: Conceal the blind
Use natural surroundings without blocking windows or exits.
Step 8: Prepare shooting lanes
Create only practical and safe lanes.
Step 9: Test windows
Operate every window from your actual hunting position.
Step 10: Organize gear
Keep equipment accessible and quiet.
Step 11: Practice
Bowhunters should practice drawing and shooting positions from inside the blind.
Step 12: Inspect safety
Check:
- Stability
- Anchoring
- Access
- Windows
- Doors
- Shooting directions
- Property boundaries
- Weather conditions
Example Ground Blind Setups
Example 1: Wooded Property With Food Plot
A property contains:
- Thick timber
- A small food plot
- Bedding cover
- Multiple trails
A practical setup could involve positioning the blind near the edge of the food plot where natural vegetation provides concealment.
Before installation, check the wind and identify the route deer use to enter the plot.
The blind should not block the primary travel route.
Example 2: Open Agricultural Property
A large field has limited cover.
Instead of placing a blind in the center, examine:
- Field corners
- Timber edges
- Brush
- Fence lines
- Existing vegetation
Choose a location where the blind can blend into the surrounding environment while providing safe visibility.
Example 3: Bowhunting Setup
A bowhunter has a ground blind overlooking a travel corridor.
Before hunting, the hunter sits inside and checks:
- Bow clearance
- Window height
- Shooting angles
- Deer approach direction
- Concealment
- Equipment placement
The hunter then practices drawing without contacting the blind or making unnecessary movement.
Example 4: Two-Hunter Ground Blind
Two hunters share a larger enclosed blind.
Before the hunt, they determine:
- Seating positions
- Window assignments
- Equipment locations
- Communication methods
- Safe shooting directions
This reduces unnecessary movement once deer are present.
Ground Blind Safety Checklist
Safety should be part of the setup, not something checked after everything else.
Before hunting, verify:
-
Blind is stable
-
Anchors are secure
-
Floor is safe
-
Door operates properly
-
Windows operate correctly
-
Access area is clear
-
Shooting directions are safe
-
Backstops have been considered
-
Property boundaries are known
-
Hunting regulations are understood
-
Weather conditions are suitable
-
Firearm or bow handling procedures are followed
-
Emergency access is possible
For elevated blinds, additional structural and access checks are required.
Never modify a blind or support structure in a way that could compromise its safety.
FAQs: Ground Blind Setup
How do you set up a ground blind for deer hunting?
Where should I put a ground blind for deer hunting?
Should I set up a ground blind before deer season?
How do you conceal a ground blind?
Should a ground blind face the wind?
How do you set up a ground blind for bowhunting?
How far should a ground blind be from a deer trail?
Do ground blinds need to be anchored?
Final Thoughts: Build a Ground Blind Setup Around the Hunt
A successful ground blind setup starts before the blind is even placed on the ground.
Study deer movement. Choose the location carefully. Check wind and thermals. Plan your access route. Prepare the ground. Orient the windows toward useful shooting areas. Secure the blind properly. Use natural concealment. Test your shooting positions. Finally, inspect the entire setup for safety before hunting.
For bowhunters, focus especially on bow clearance, window height, shooting angles and minimizing movement. For gun hunters, pay close attention to safe shooting directions, backstops, visibility, property boundaries and applicable regulations.
Remember that the best setup is not necessarily the most complicated one. A simple, stable and well-concealed blind in the right location can be more useful than an elaborate setup in the wrong place.
If you’re ready to build your deer hunting setup, explore Hunting Blind Supply’s Ground Hunting Blinds, Deer Hunting Blinds, Bow Hunting Blinds, Gun Hunting Blinds and Insulated Hunting Blinds.
Hunting Blind Supply is presented by the business as the “#1 trusted seller” for deer hunting blinds. The company is family-owned in Texas and has been manufacturing hunting blinds since 2020.
Shop Hunting Blind Supply and find a ground hunting blind that fits your property, hunting method and setup requirements.






One thought on “How to Set Up a Ground Blind for Deer Hunting | Complete Guide”